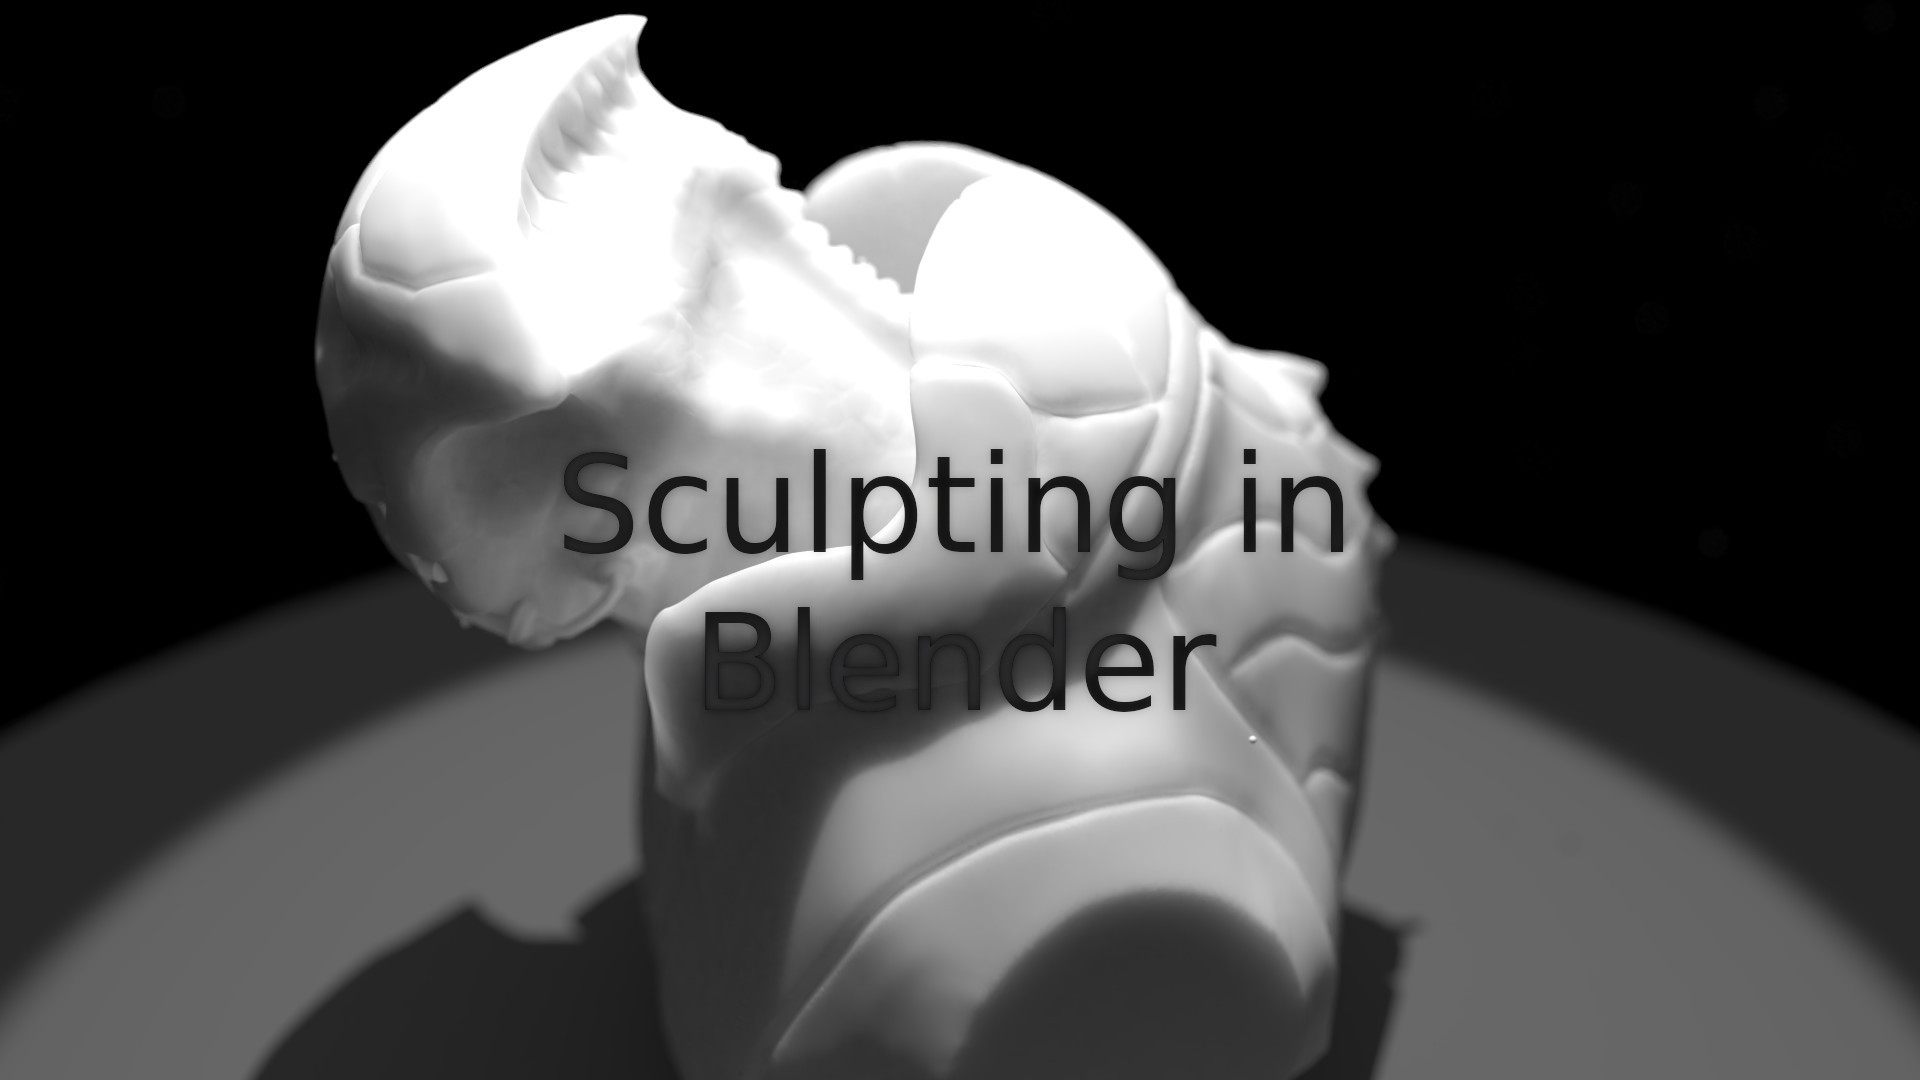
A random critter modeled in blenderJanuary 01, 2019 at 22:01
Happy new year 2019 everyone! That post caught me during the new year's eve!
At first I planned to release it by the 28th of december (2018) but... things delayed unexpectedly (With christmas and all that stuff around...) but here we are finally!
The critter
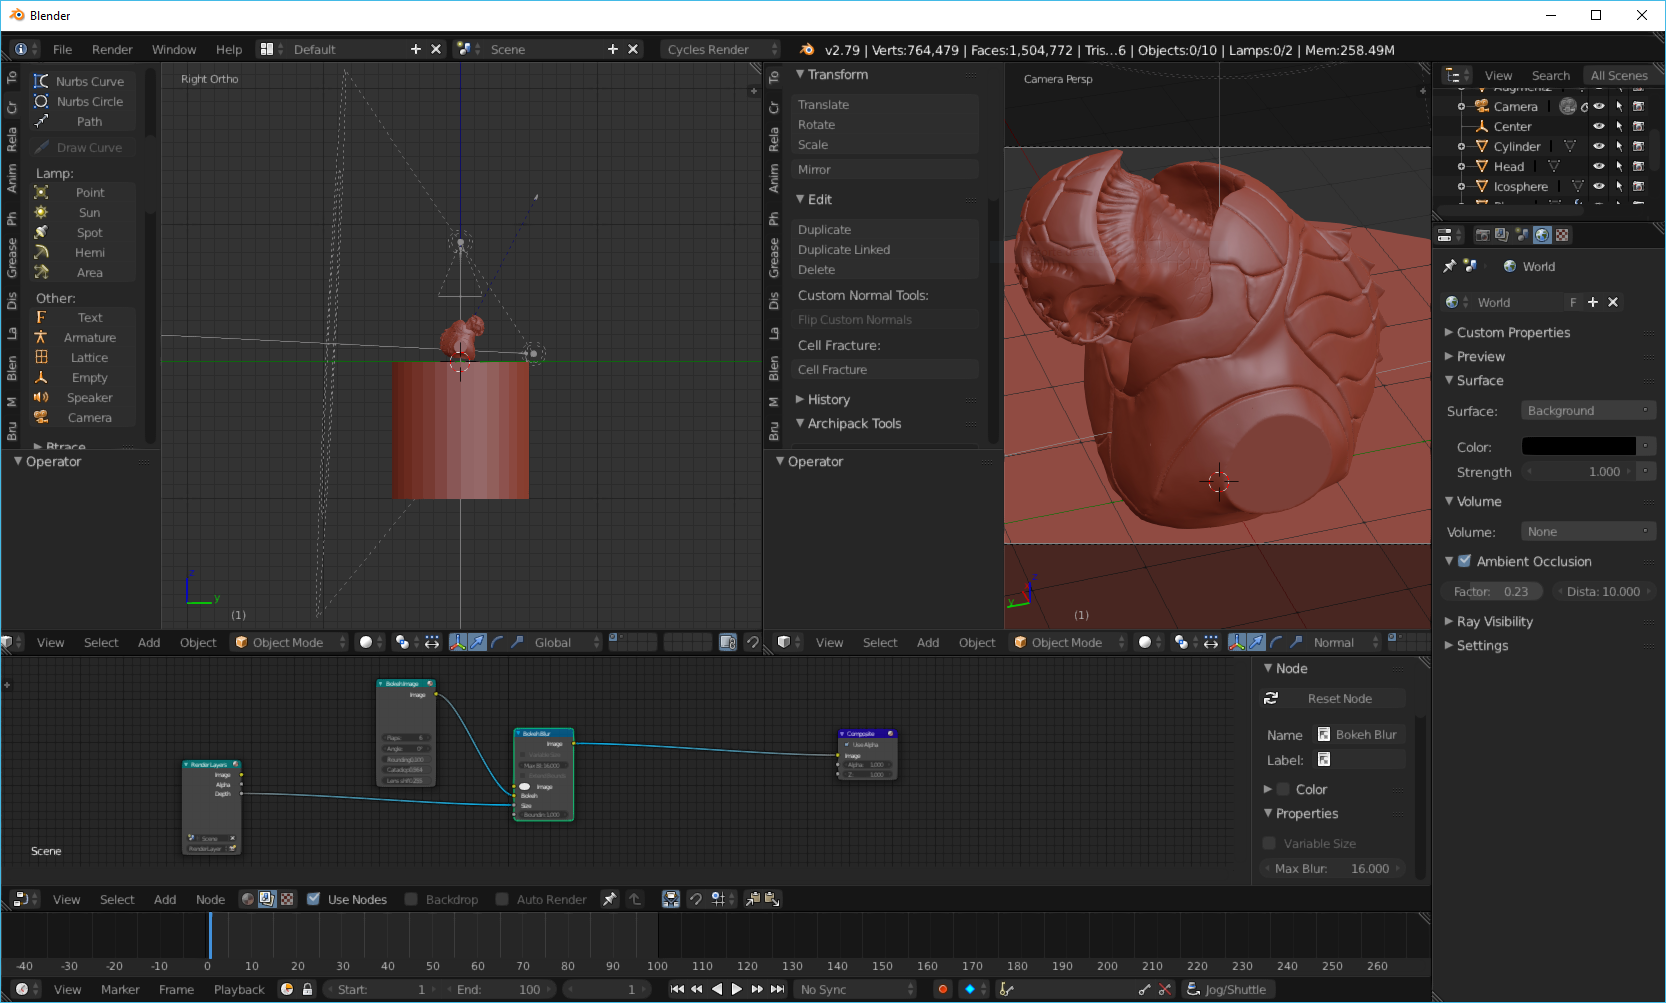
For sculpting and modeling I use Blender, a great open source 3D modeling software maintained by the community and the Blender foundation.
 Image source: blender.org
Usually I start with a simple solid like an Icosphere or a Cube.

Then, I used to subdivide it a lot, like to 170k faces, BUT! I found the dynamic topology option:

And jeesh, it saved me a lot of headaches. I know, I know, you might be thinking "Man! That option is 39578349875 years old!", but late is always better than never!
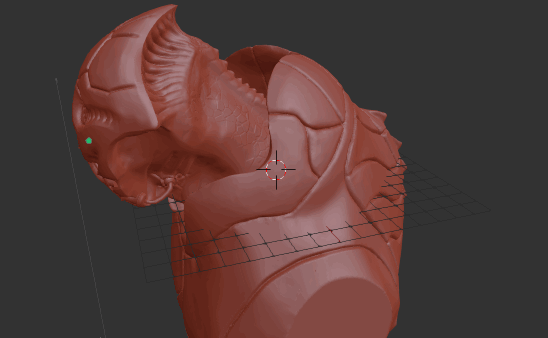
Then, after messing around with that option, I'd continued sculpting the solid, literally smashing a ball to see what comes out and test blender. At first I didn't want specifically to make a creature, but it ended looking like it had eyes and mouth (You know, the basic facial structure).
So I've decided to keep going until I had the facial features, more or less. The problem now is that I didn't document the whole process (Big mistake!), but you can image a ball with something resembling to that:
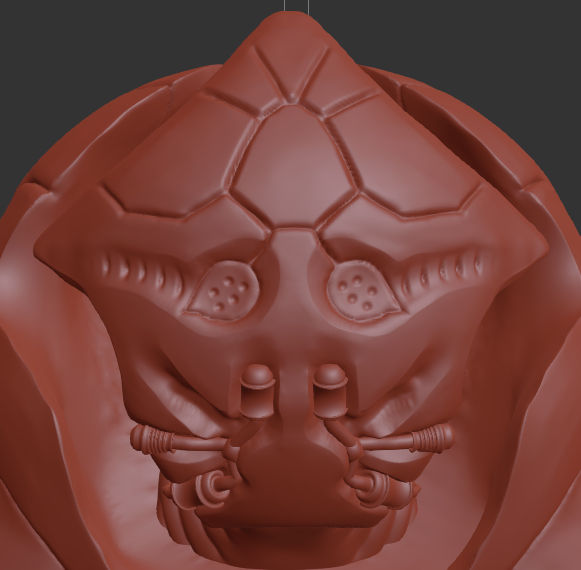
Then a more clear image in my mind came: Why not make an armored creature that when retracted, has a semi-spherical shape?, at least the head, as the initial solid was a sphere there was much left from that roundish shape... I've ended up with something:
Of course the body was the last part. I will admit that I've found myself a little bit lazy those days, I think that is because of christmas (I had to travel...).
Problems
I've tried some brushes from some random sites (which didn't work at all) and a brush pack from the community, but the problem was mainly that they simply disappear from the workspace. You have to reload them, but besides those were the best brushes (aside from the default ones) that I've seen for now.
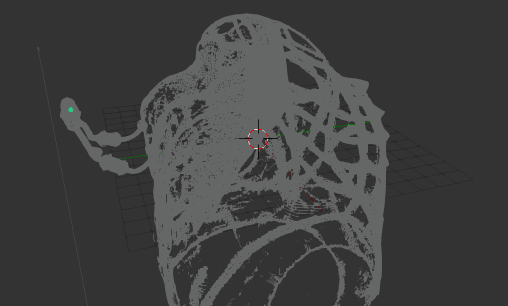
Also I've found myself fighting with some random artifacts that were not evenly distributed:


Of course the final model that you can see here does not have those artifacts, but I still wondering why they appeared in first place, and why they were not symmetric, even I have symmetry always on.
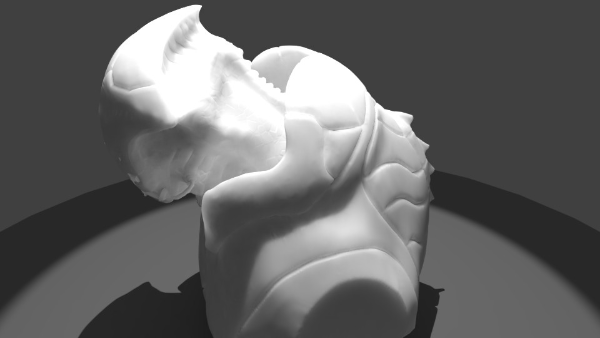
Result
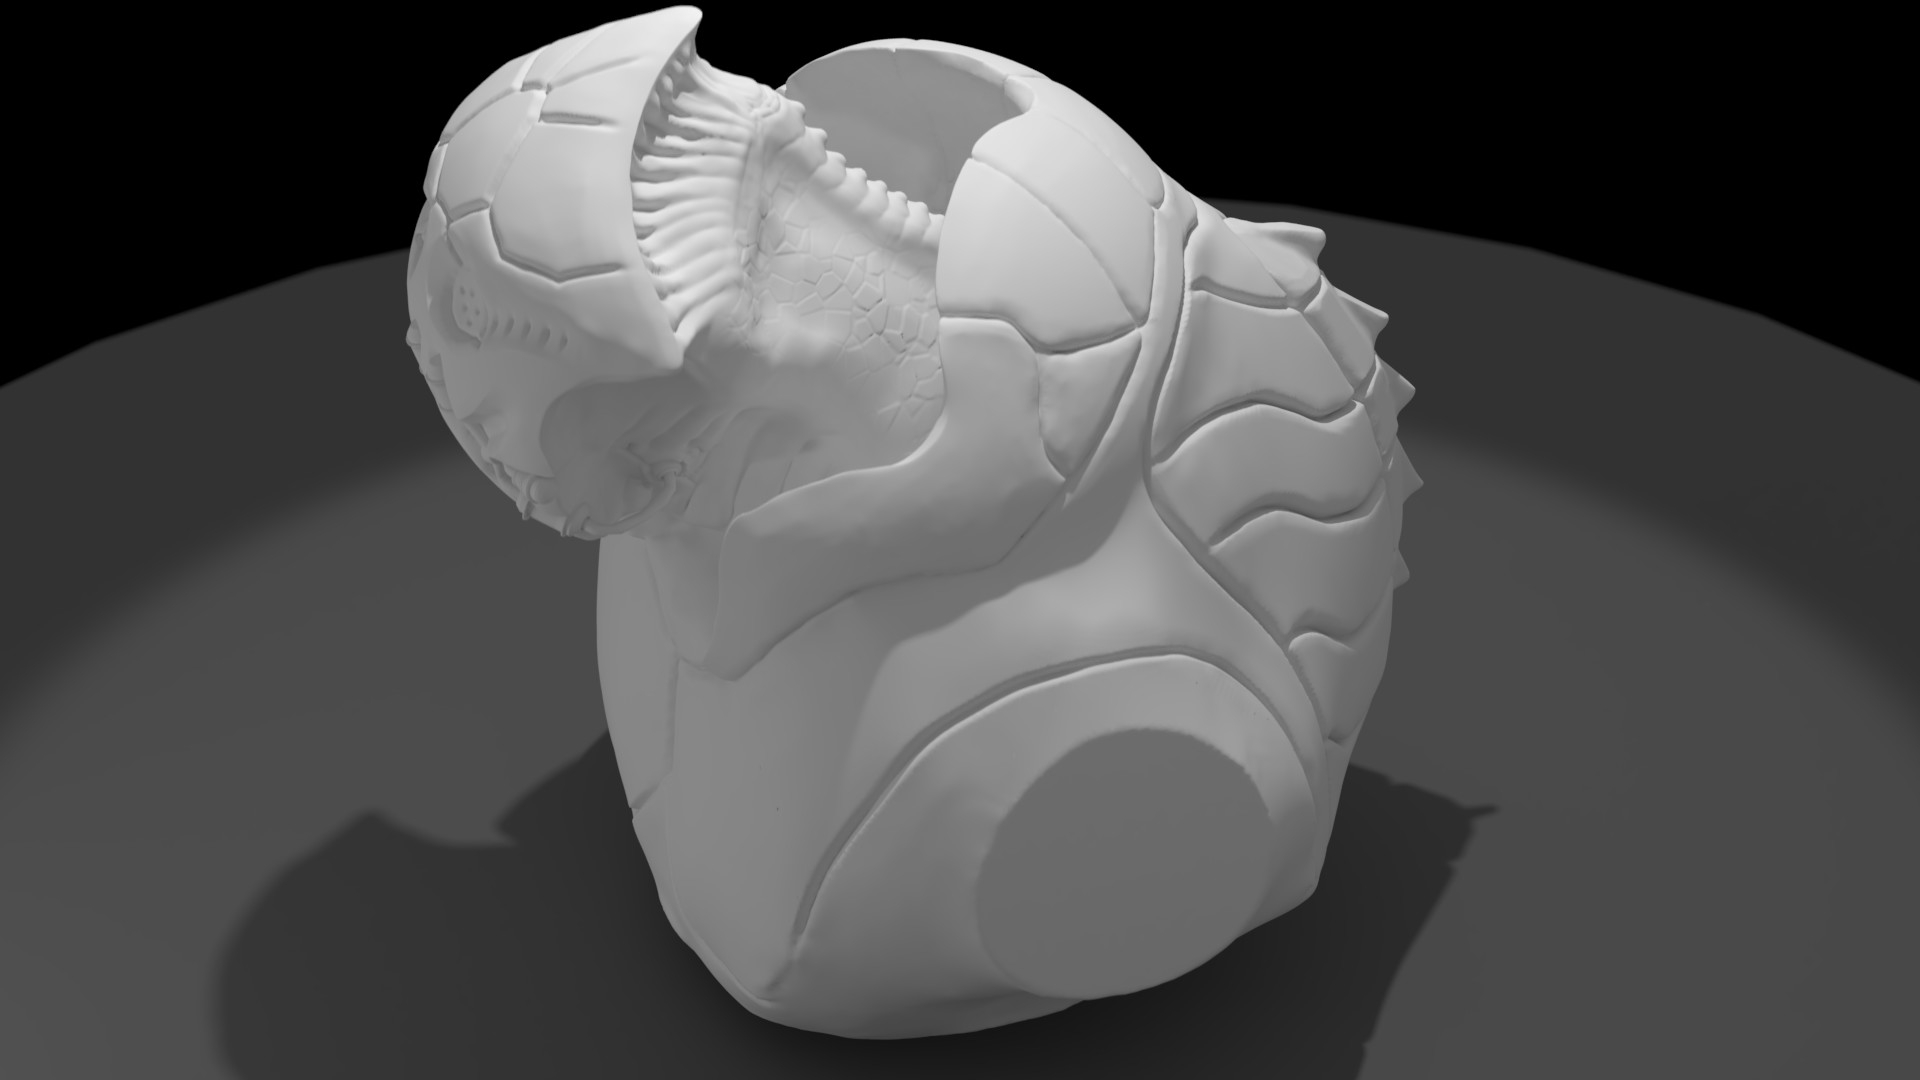
I've tried to make a render setup like those that I see by the blender community, but without much success.
What do you think? What can I do or what resources do you know that could help me with the next sculpts? As always, thanks for reading!